I guess that you could consider this to be a battle report.
 I happened to have brought a few models with me to college, though the only models I brought were 8 ringwraiths and my mumak and the crew. So, I added up the points for the crew, (1 chieftain, 12 warriors 6 each with spear and bow) and it came to 130 points. I took 2 ringwraiths and added to their profiles till the total was 130. That gave them 8 will and 1 might each.
 The scenario rolled was To the Death! which might prove difficult for the wraiths. Now, I'll let the pictures do most of the talking.
The board: 1' x 2'
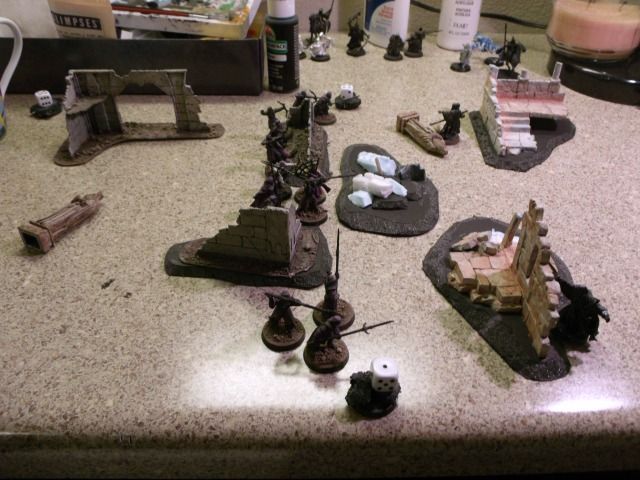
"Evil" Deployment:
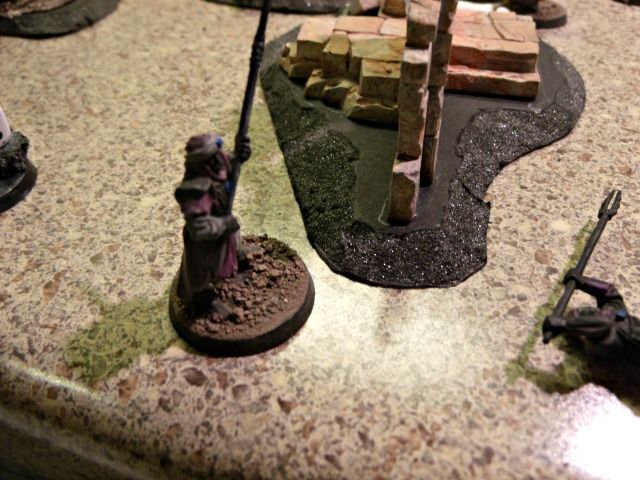
This first Ringwraith is the Betrayer and the other the Undying, although in this battle I am using generic Ringwraith profiles. I’m giving them names so I don’t have to refer to them as Ringwraith 1 and Ringwraith 2.
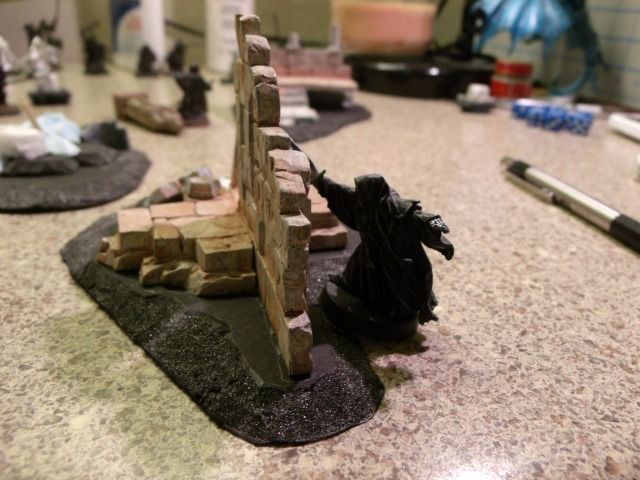
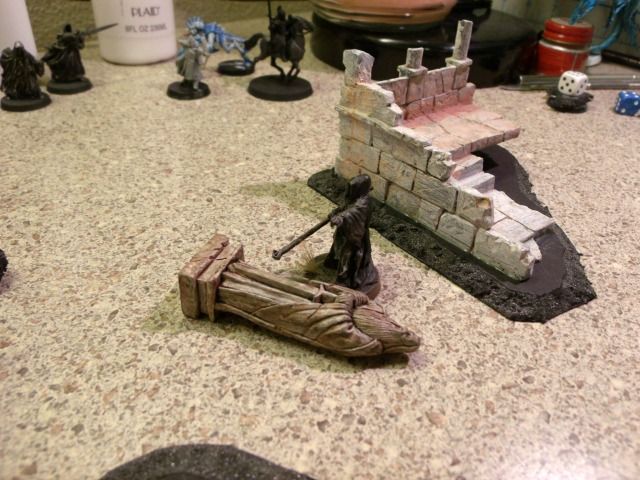
"Other Evil" Deployment:
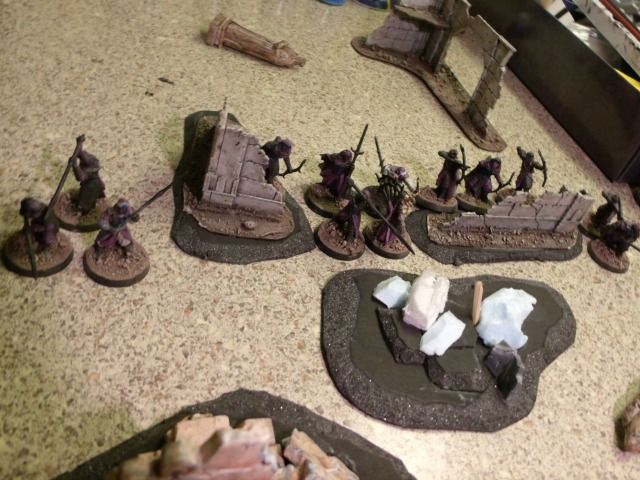
Turn 1: Harad
Warriors move up, since they can't "see" the wraith.
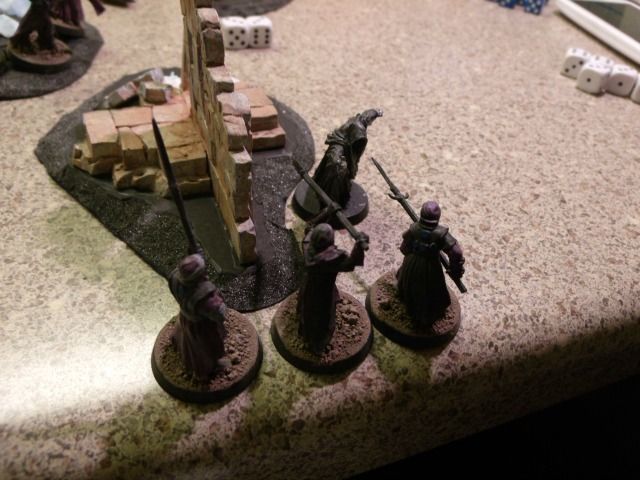
Move through difficult terrain.
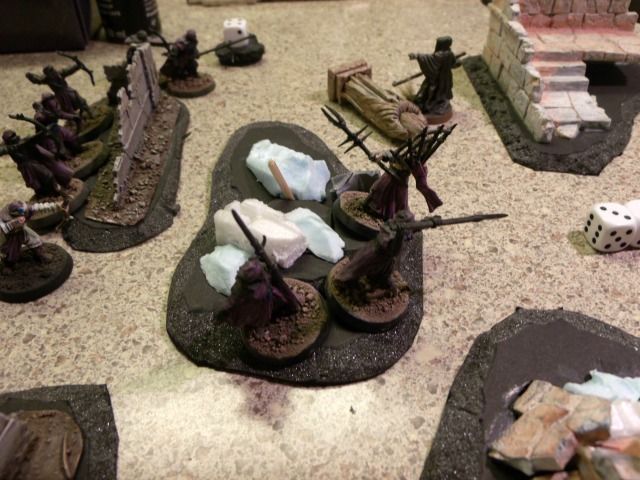
This guy fails his courage tests a lot!

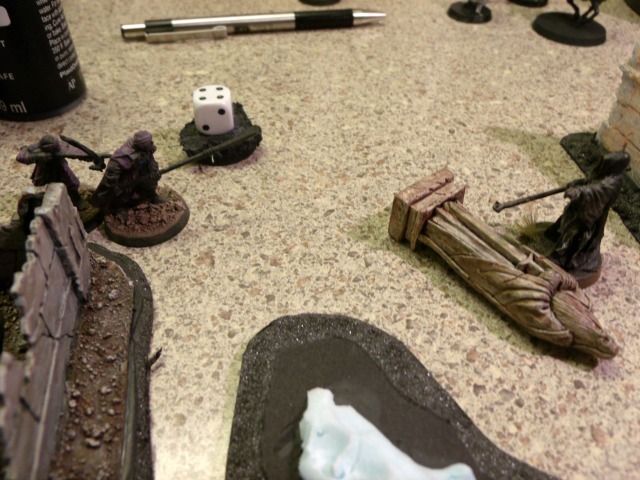
The Betrayer transfixes the warrior and then charges in.
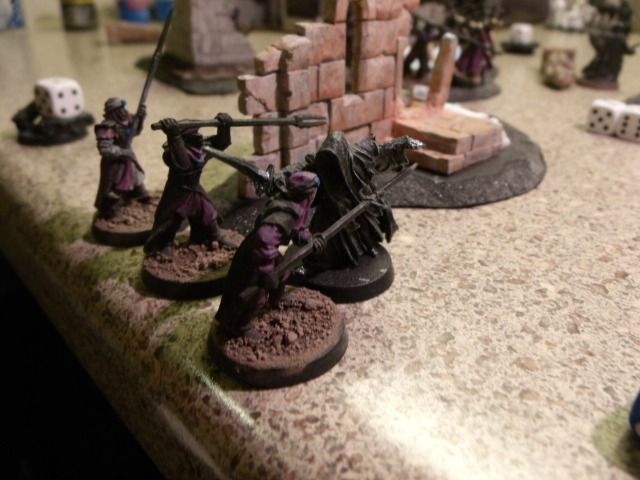
The Chieftain is targeted by the Undying, who uses Drain Courage to drop his courage to a 3 (and using up his only will point in the process)

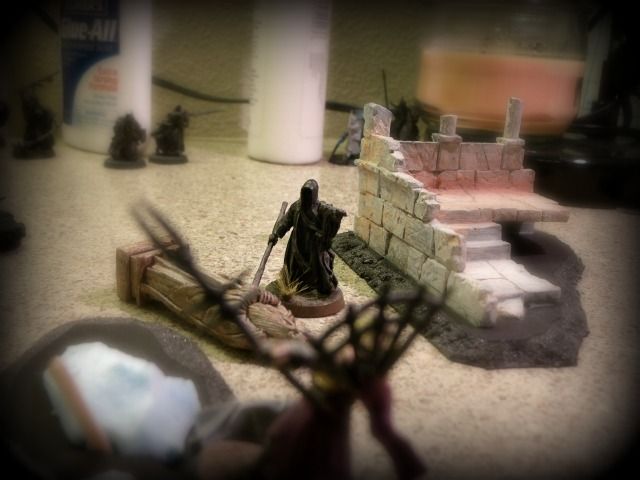
The archers all aim at the Undying, but they can’t roll any sixes to even try to wound the wraiths.
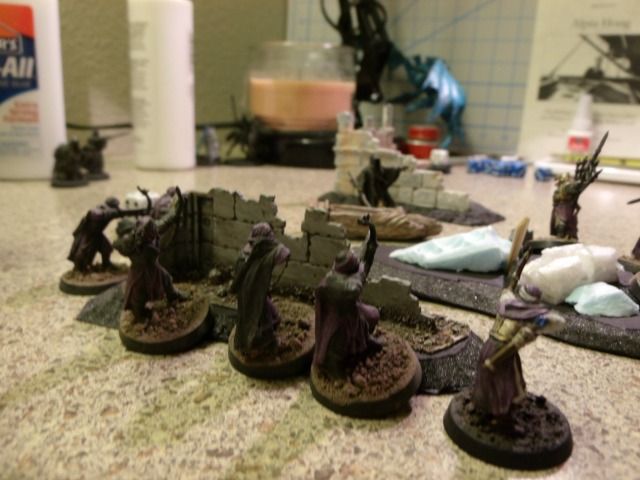
The Betrayer wins his fight, using might to slay the warrior.
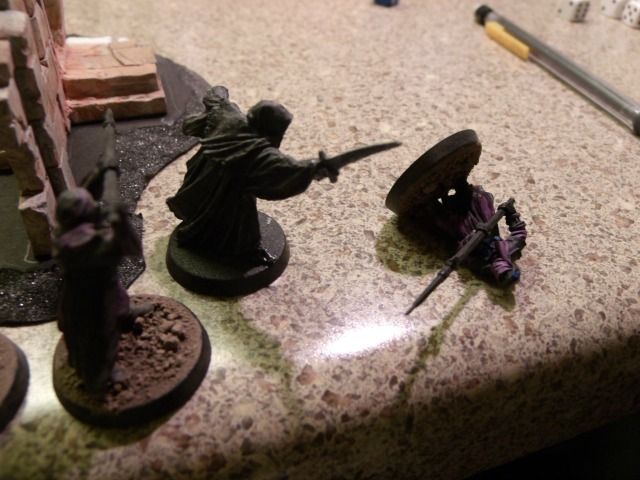
Turn 2: Harad
The Chieftain attempts to charge the Undying, but his dwindling courage sees to him staying put. Two warriors decide to get out of the difficult terrain to charge in the next turn.
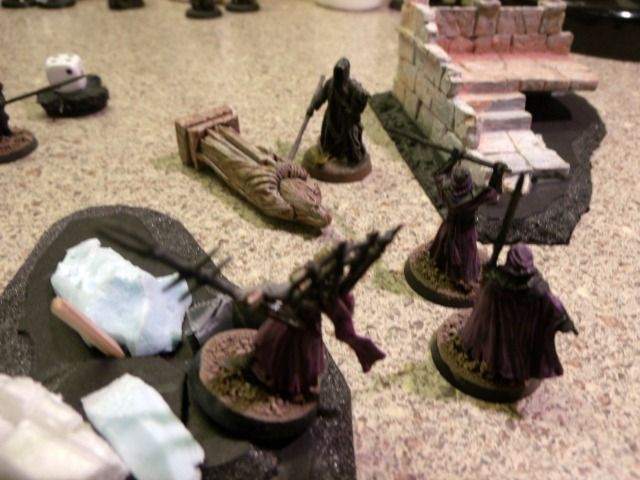
The warrior fails again!
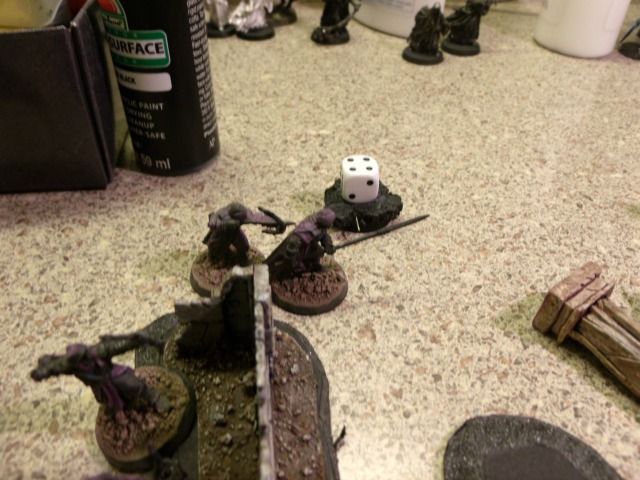
This warrior also fails to charge!
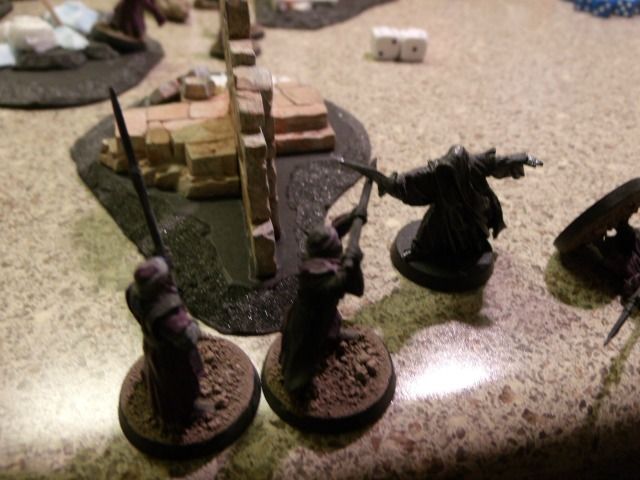
Both wraiths take advantage of the lack of courage and cast black darts at the chieftain, the Undying hitting first, fate not in favor of the chieftain. Then the Betrayer hits him with a dart and kills him!
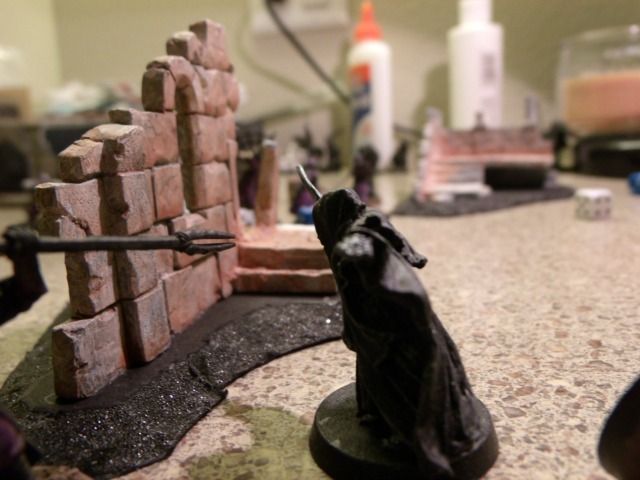
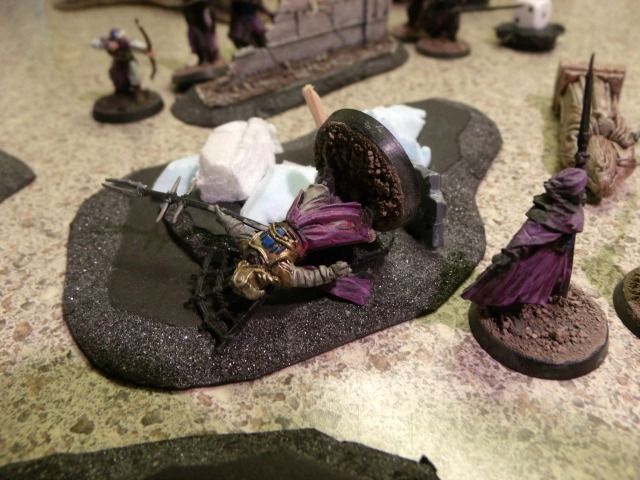
The Undying charges and kills the warrior.
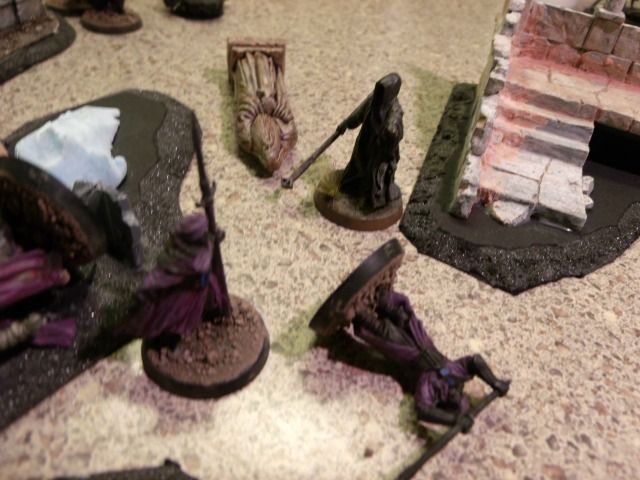
The Betrayer loses and is almost slain! (Rolled a 6 then a 3! needing a 6/4)
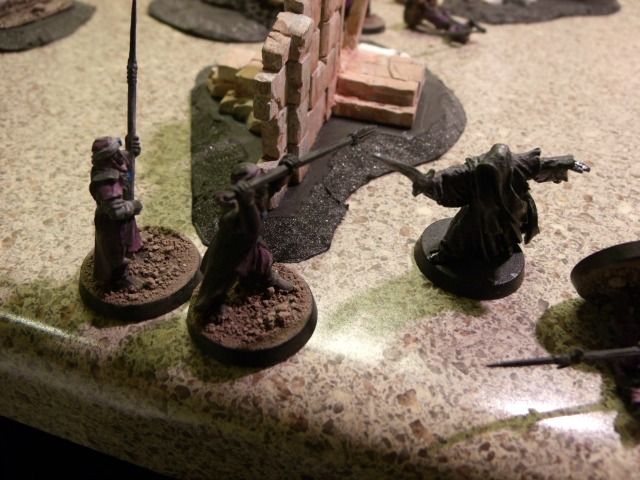
Turn 4: Ringwraiths
The wraiths are running low on will by this point, so they don’t use any magic this turn, hoping to just kill the enemy in combat. The archers abandoned their bows and move in to try and trap the wraiths. The one warrior at the top finally gets enough courage to charge the Undying!
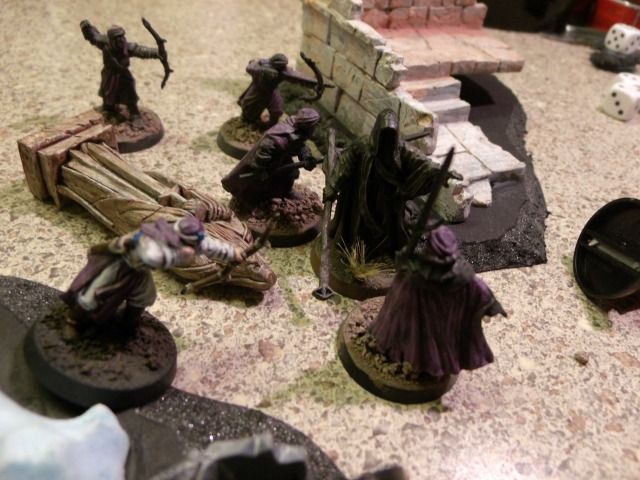
The only way the wraiths can win now is to kill one warrior each in the rest of the turns, but Undying loses his fight and the Betrayer fails to wound.
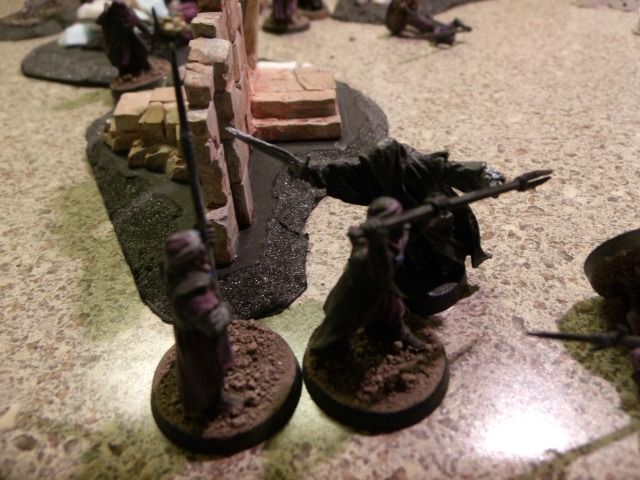
Turn 5: Harad
Three warriors take courage and charge and trap the Undying, though the warriors fail to charge the Betrayer.
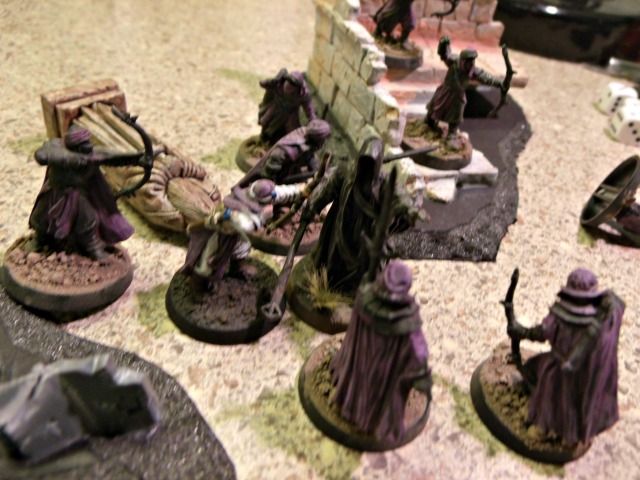
The Betrayer kills a warrior with a Black Dart and then charges the spearman behind him.
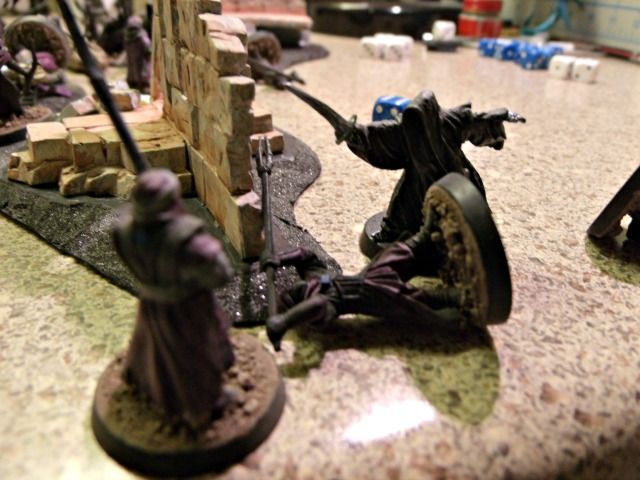
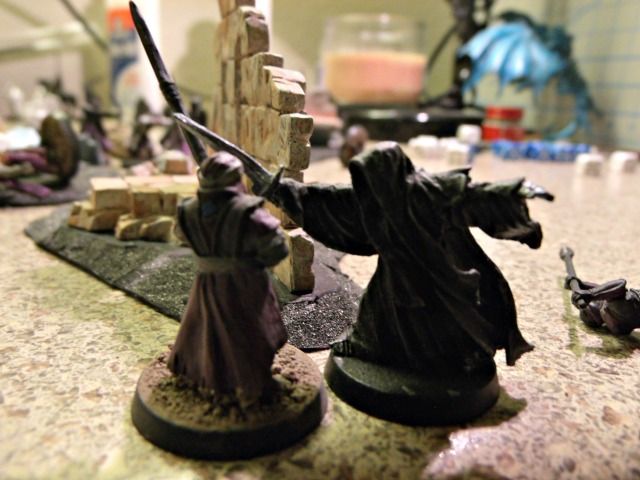
But both wraiths lose their fights, take no wounds, but are out of will and are banished! I must have missed something in my notes, because I have more pictures than notes.

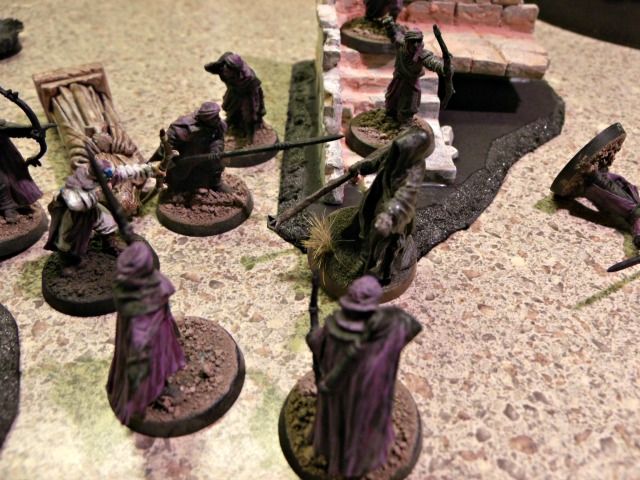
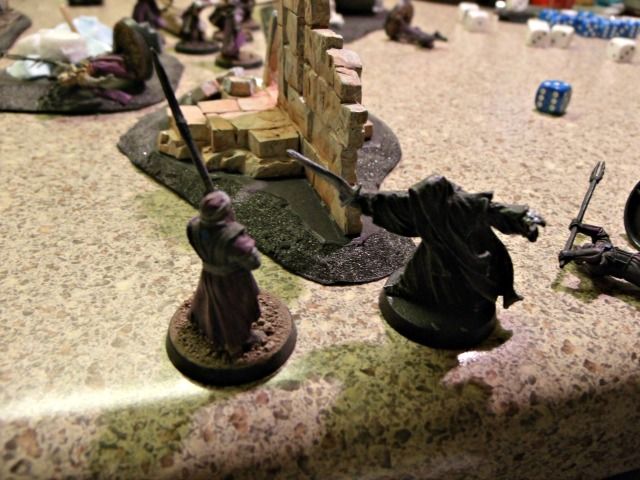
It must have gone into Turn 6, since here the Undying uses a Dart on the one warrior that finally charged him.
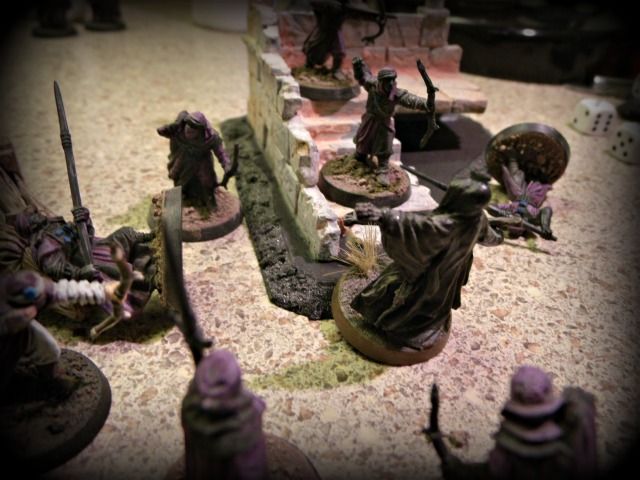
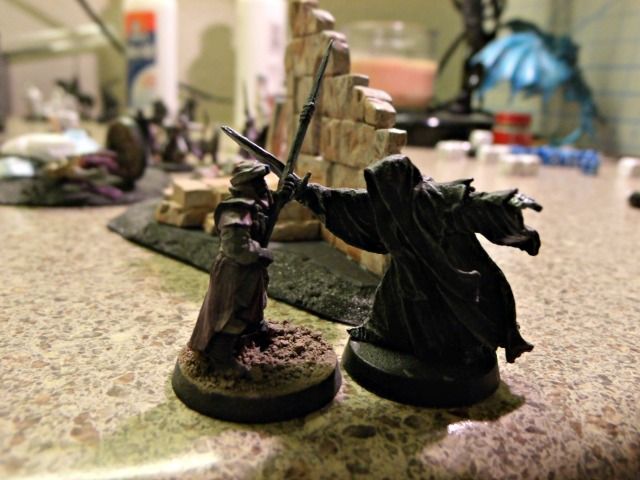
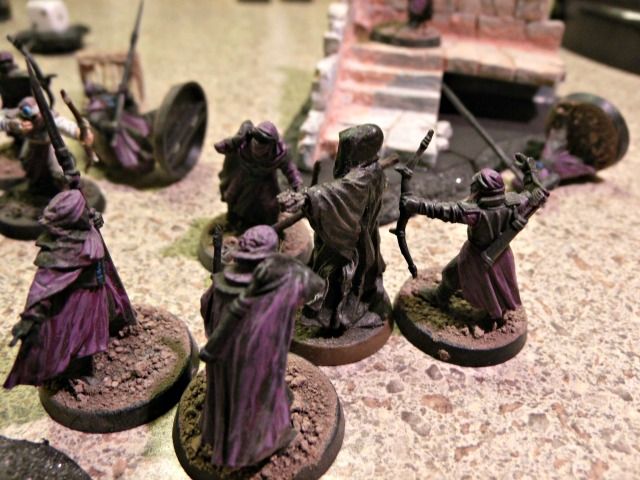
Banished!
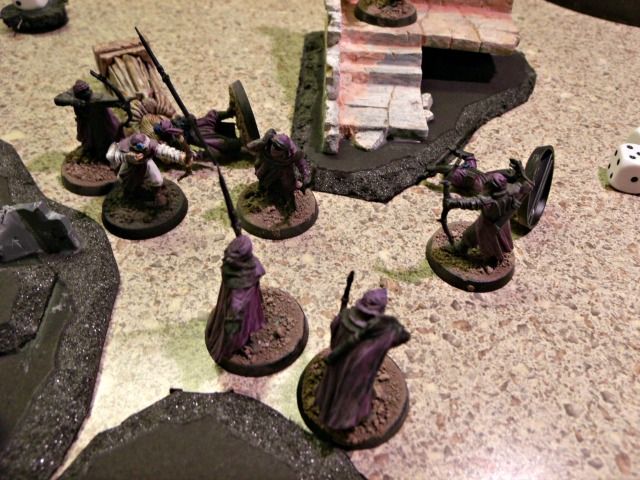
In the end, the Wraiths had 3 victory points for killing the leader, but the Haradrim were still unbroken and, although not slain, the Undying was banished so counts (?) as slain, giving them 8 victory points. The wraiths had a chance to win if they could just break the other force, but they did end up killing the leader and I think five other warriors. Their high defense is definitely tough to crack!
Let me know your thoughts about this battle and the armies used! I hope you enjoyed the read!